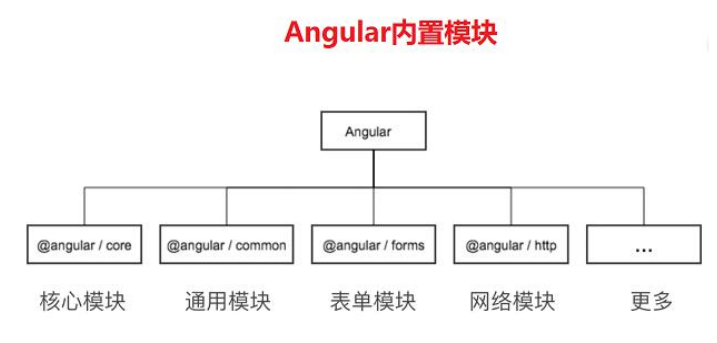
一、Angular 内置模块
二、Angular 自定义模块
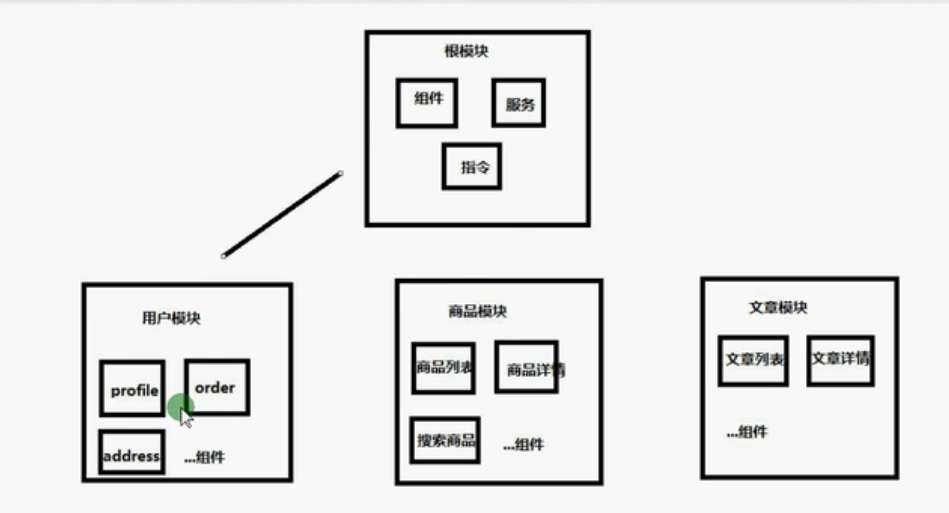
当我们项目比较小的时候可以不用自定义模块。但是当我们项目非常庞大的时候把所有的组
件都挂载到根模块里面不是特别合适。
所以这个时候我们就可以自定义模块来组织我们的项目。并且通过 Angular 自定义模块可以实现路由的懒加载。
例如,创建商品模块:
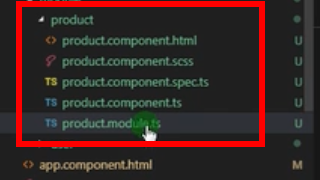
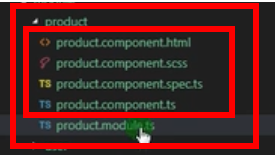
ng g module module/product:
product.module.ts
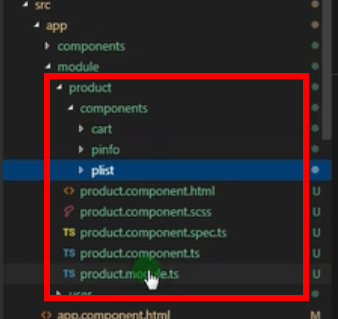
创建模块的根组件:product组件
ng g component module/product
创建其他组件:
ng g component module/product/components/plist
ng g component module/product/components/cart
ng g component module/product/components/pinfo
在product.t里面操作:
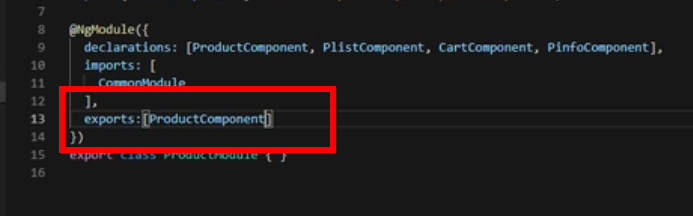
把product.ts的根组件暴露出去
exports:[ProductComponent]//暴露组件,让其他模块里面可以使用暴露的组件
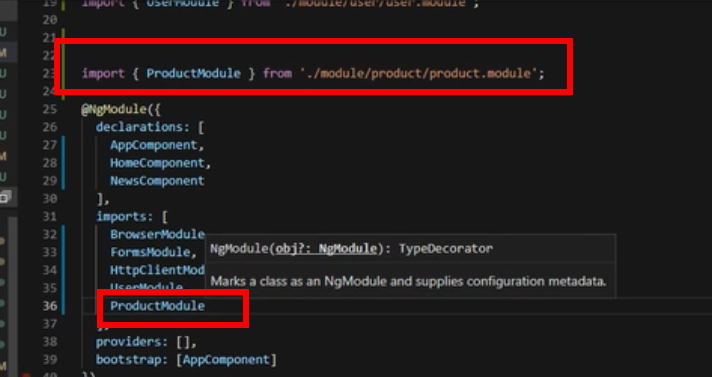
在根模块app.module.ts挂载根模块
在app.module.ts里面引用自定义模块
之后可以在根组件.html调用商品模块
自定义模块以及配置路由模块懒加载
配置模块里面的路由:
ng g module module/product:
产生:product.module.ts
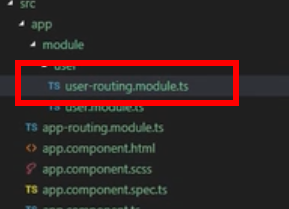
ng g module module/product --routing
该命令是:创建模块的同时,创建路由
创建模块的根组件:product组件
ng g component module/product
如何实现模块的懒加载
懒加载提升应用性能
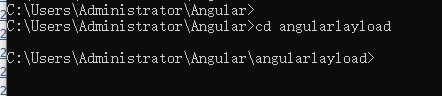
cd 到指定项目下
新建:ng new angularlayload
cd 到项目名下:
安装依赖:npm install
运行项目:ng serve
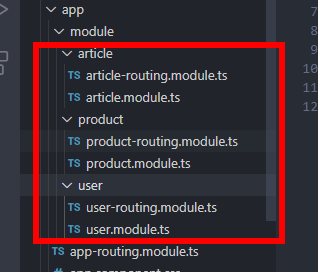
新建模块:
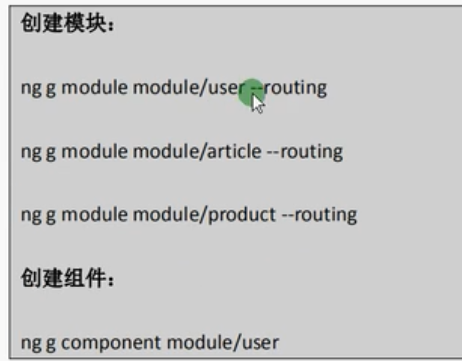
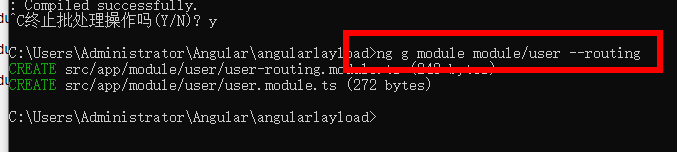
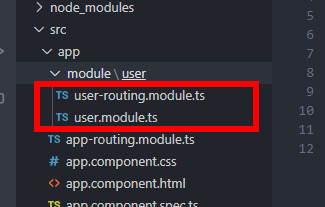
如下代码在创建模块时一起创建路由
ng g module module/user --routing
ng g module module/article --routing
ng g module module/product --routing
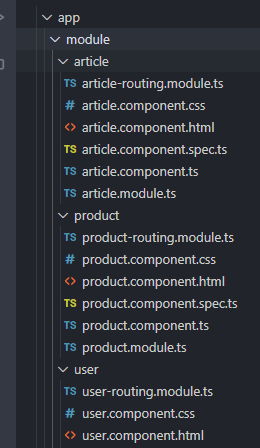
然后分别创建:article/product/user的组件
ng g component module/user
ng g component module/article
ng g component module/product
以user模块为例:
在user-routing里面 引入user.module.ts
import { UserComponent } from './user.component';
配置路由:
const routes: Routes = [

  {path:'',component:UserComponent}

];
同理配置product和article
在根app.component.html挂载模块
<header>
<a [routerLink]="['/user']" >用户模块</a>
<a [routerLink]="['/product']" >商品模块</a>
<a [routerLink]="['/article']" >商品详情</a>

</header>
显示:
需要动态加载,所以要:
在app-routing.module.ts-懒加载
const routes: Routes = [

{
// path: 'user',loadChildren:'./module/user/user.module#UserModule'
path:'user',
loadChildren: () => import('./module/user/user.module').then(mod => mod.UserModule)

},

{
  path:'article',
  loadChildren: () => import('./module/article/article.module').then(mod => mod.ArticleModule)
  // loadChildren: './module/article/article.module#ArticleModule',
  },

  {
    // path: 'product',loadChildren:'./module/product/product.module#ProductModule'

    path:'product',
    loadChildren: () => import('./module/product/product.module').then(mod => mod.ProductModule)

  },

    {
      path: '**',redirectTo:'user'
    }

];
在user新建组件:
ng g component module/user/components/profile
ng g component module/user/components/address
在user.module.ts中复制
import { ProfileComponent } from './components/profile/profile.component';
import { AddressComponent } from './components/address/address.component';
到user-routing.module.ts中
//引入模块
import { ProfileComponent } from './components/profile/profile.component';
import { AddressComponent } from './components/address/address.component';


//引入路由
const routes: Routes = [

  {path:'',component:UserComponent},

  {path:'profile',component:ProfileComponent},
  {path:'address',component:AddressComponent},


];
自定义模块里面配置路由
创建其他组件:
ng g component module/product/components/plist
ng g component module/product/components/cart
ng g component module/product/components/pinfo
为product配置路由:
在product-routing.module.ts引入product.module.ts中生成的组件模块:
import { PlistComponent } from './components/plist/plist.component';
import { CartComponent } from './components/cart/cart.component';
import { PinfoComponent } from './components/pinfo/pinfo.component';
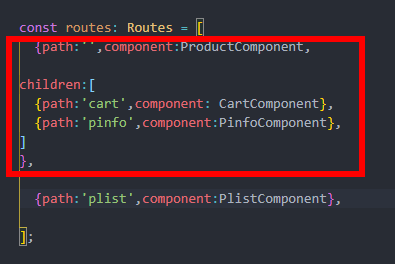
父子路由定义区别
const routes: Routes = [
  {path:'',component:ProductComponent,

children:[
  {path:'cart',component: CartComponent},
  {path:'pinfo',component:PinfoComponent},
]
},

  {path:'plist',component:PlistComponent},

];
View Code
定义cart和pinfo为product的子路由
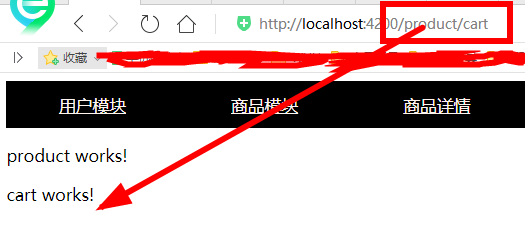
访问cart不会出现cart页面,依旧是product页面
如果要显示子路由的页面
需要在父路由product.html配置
<router-outlet></router-outlet>

这样访问就可以显示
悟已往之不谏,知来者之可追。
来源:https://www.cnblogs.com/foremostxl/p/12968256.html |



 發表於 2020-5-26 19:44:00