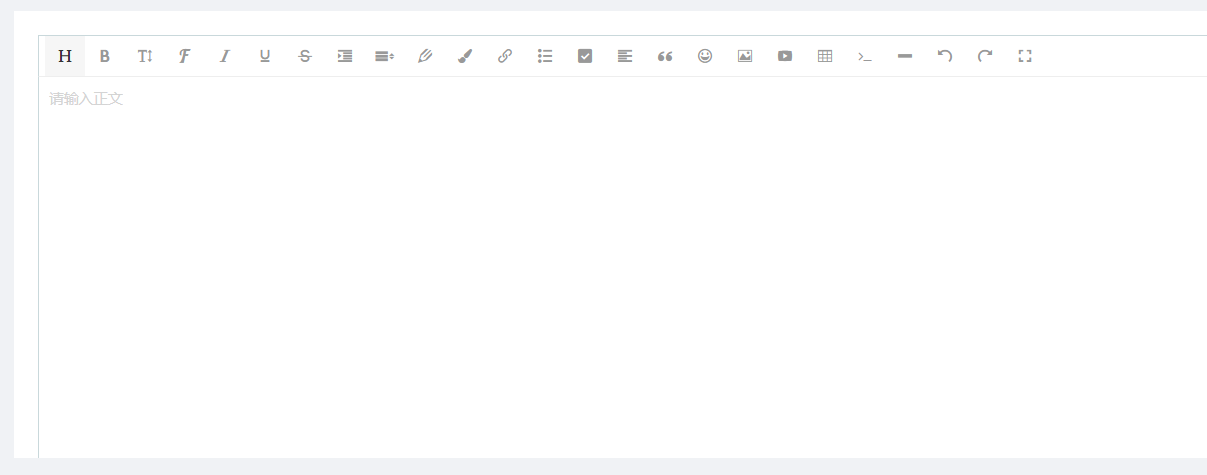
富文本组件是web程序中很常用的一个组件,特别是要开发一个博客,论坛这类的网站后台。
得益于Angular的强大,封装WangEditor组件非常简单
1.使用yarn或者npm安装wangeditor
yarn add wangeditor
2.创建一个Angular的组件
ng g c q-wang-editor
3.封装组件逻辑
3.1 模板
<div #wang></div>
3.2 ts逻辑
import { Component, ElementRef, EventEmitter, Input, OnDestroy, OnInit, Output, ViewChild, ViewEncapsulation } from '@angular/core';
import { ControlValueAccessor } from '@angular/forms';

import E from "wangeditor"
import hljs from 'highlight.js'
import "node_modules/highlight.js/styles/xcode.css"

@Component({
  selector: 'q-wang-editor',
  templateUrl: './q-wang-editor.component.html',
  styleUrls: [
    './q-wang-editor.component.less',
    '../../../../../node_modules/highlight.js/styles/xcode.css'],
  encapsulation: ViewEncapsulation.None,
})
export class QWangEditorComponent implements OnInit, ControlValueAccessor,OnDestroy {

  @ViewChild("wang")
  editor!: ElementRef;

  @Input() value: string = '';

  @Input() height = 300;

  @Output() valueChange = new EventEmitter();

  onChange: ((value: string) => {}) | undefined;

  html = ''

  wangEditor: E | undefined;

  constructor() { }
  ngOnDestroy(): void {
    this.wangEditor?.destroy();
  }
  writeValue(obj: any): void {
    this.html = obj;
    this.wangEditor?.txt.html(this.html)
  }
  registerOnChange(fn: any): void {
  }
  registerOnTouched(fn: any): void {
  }

  ngOnInit(): void {
    setTimeout(() => {
      this.wangEditor = new E(this.editor.nativeElement)
      this.wangEditor.config.zIndex = 500;
      this.wangEditor.config.height = this.height
      this.wangEditor.highlight = hljs;
      this.wangEditor.config.onchange = (html: any) => {
        this.valueChange.emit(html)
        if (this.onChange) {
          this.onChange(html);
        }
      }
      this.wangEditor.config.onchangeTimeout = 500;
      this.wangEditor.create();
      this.wangEditor.txt.html(this.html)
    }, 200);
  }

}
大致思路:
- 使用ViewChild引用html的dom元素
- 在OnInit的成功后,初始化WangEditor编辑器,把模板中的ElementRef放入到WangEditor的容器中去,让WangEditor去控制界面的dom操作。
- 实现ControlValueAccessor,让这个组件支持Angular的表单验证。
- 实现ngOnDestroy,组件在销毁的时候,调用WangEditor的destory
4.使用组件
<q-wang-editor [height]="550"></q-wang-editor>
5.效果预览
6.最后
一个WangEditor的Angular组件封装就基本完成了。如果需要更多功能,比如图片上传,等可以再根据自己的需求增加功能即可
欢迎大家关注我的公众号【青城同学】和我交流
来源:https://www.cnblogs.com/boxrice/p/15076158.html |



 發表於 2021-7-29 17:23:00