前言
前文 树莓派/Debian Apache2 实现 HTTPS(SSL) 服务 提到,Apache2 实现 HTTPS(SSL) 服务有两种方法以及之间的区别,这里讲述如何通过 腾讯云 申请免费 SSL 证书实现 HTTPS(SSL) 服务。
注:本来打算使用阿里云的 SSL 证书服务,但是实在太慢了,改用腾讯云。
准备
申请免费 SSL 证书
-
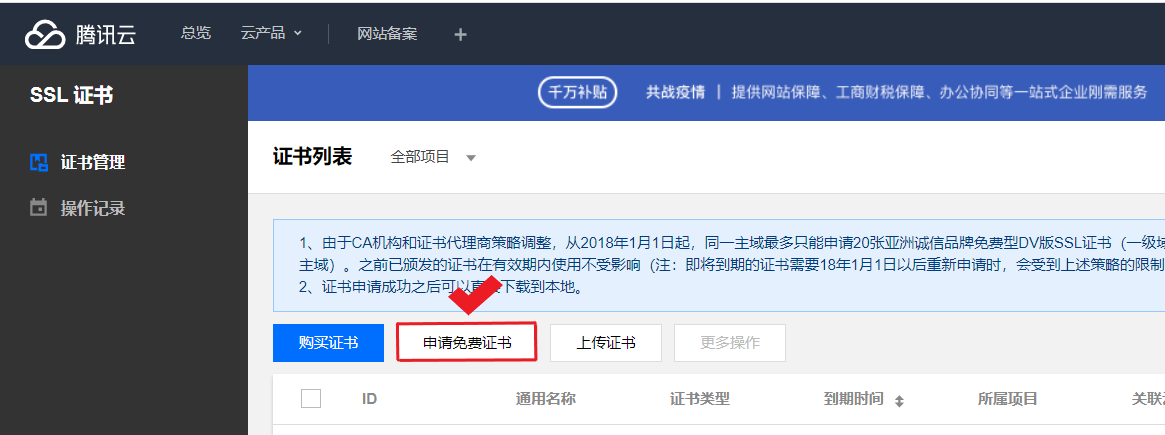
在 “腾讯云 -> SSL 证书 -> 申请免费证书”
-
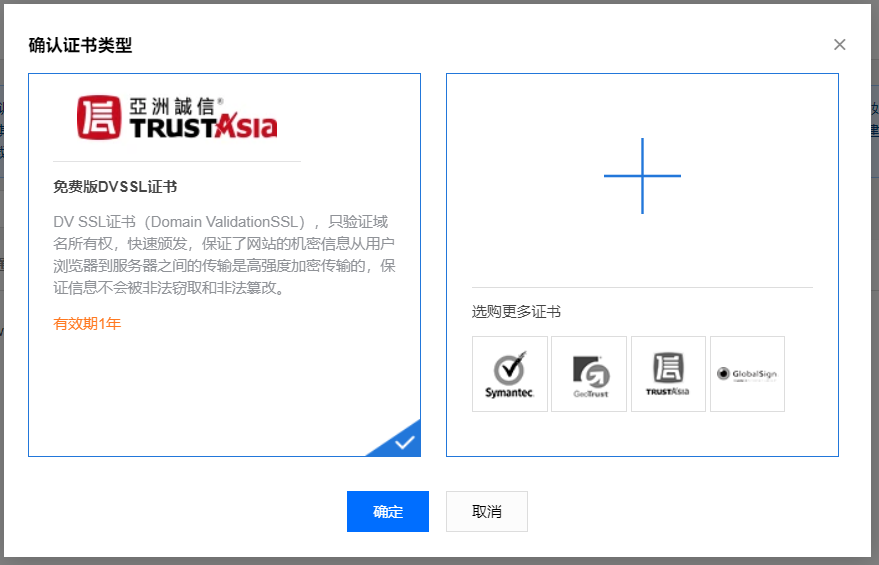
“确认证书类型 -> TRUSTASIA 免费版 DVSSL 证书”
-
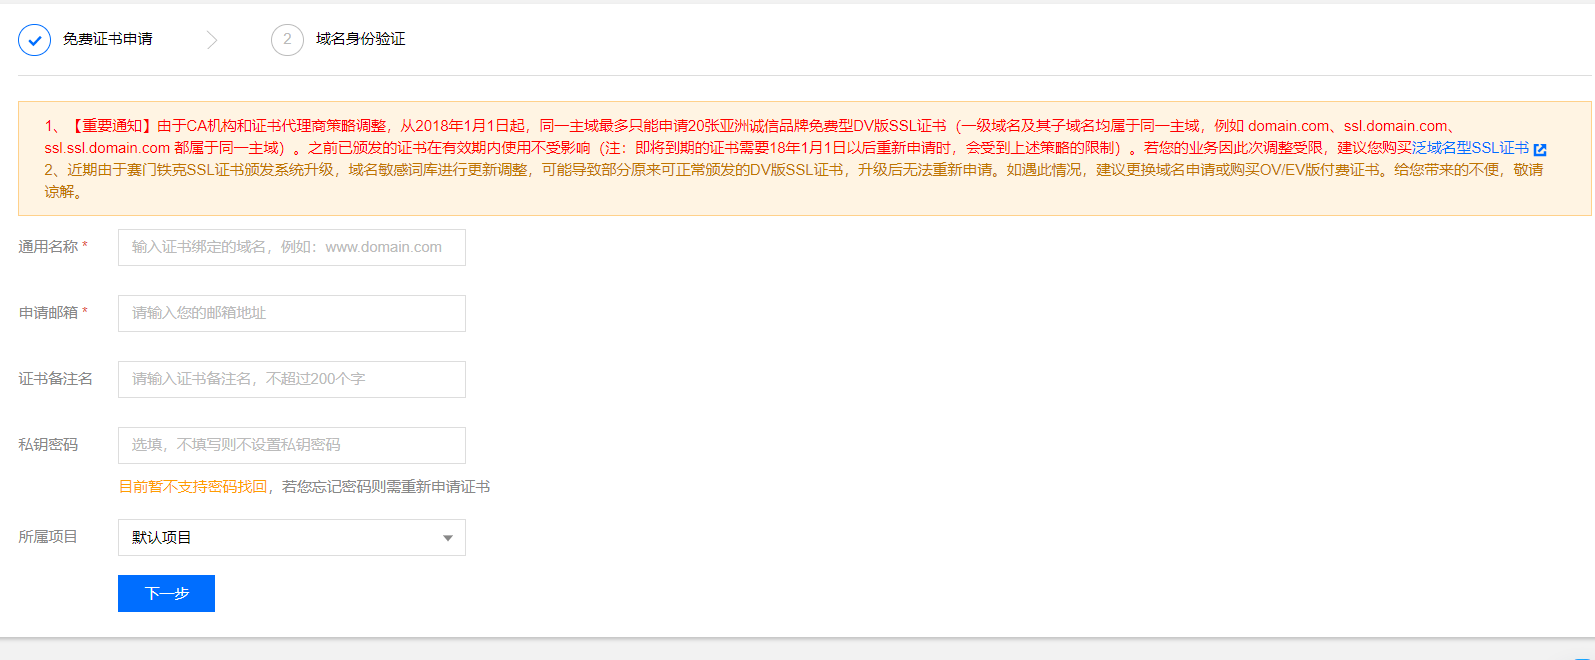
填写免费证书申请表单
-
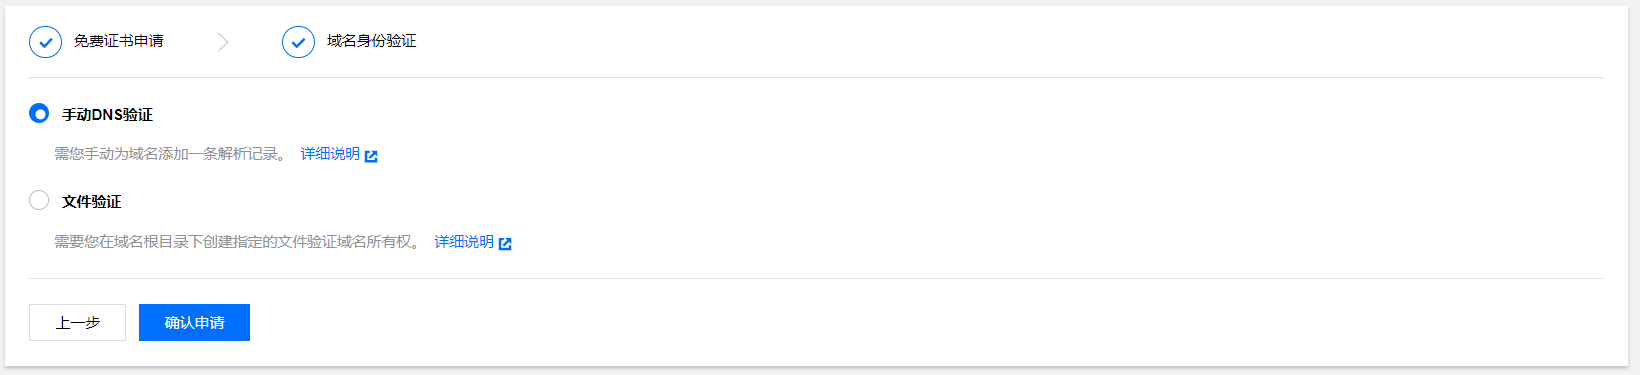
域名身份验证
由于我是阿里云的服务器,我选择“手动DNS验证”,腾讯云的应该可以选择“自动DNS验证”。
-
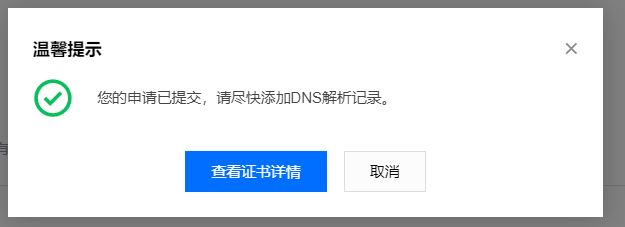
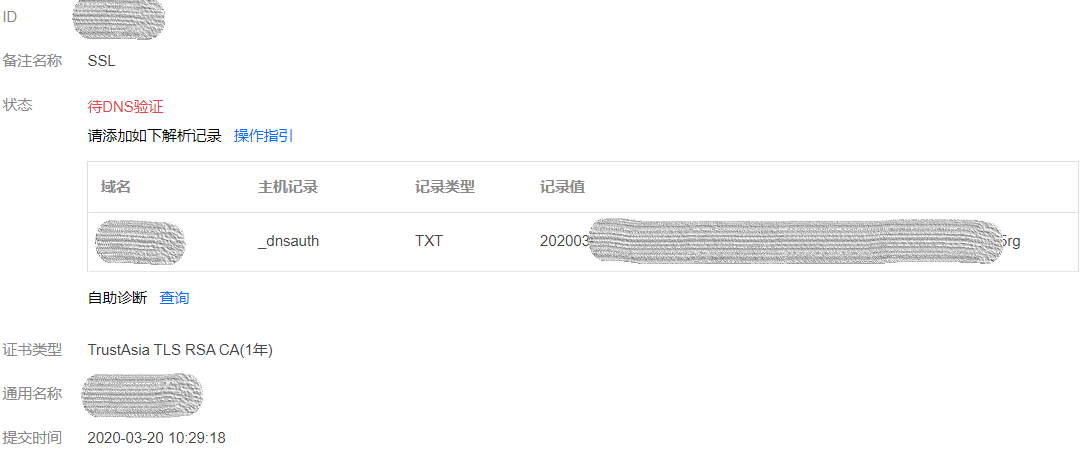
“温馨提示 -> 查看证书详情”
-
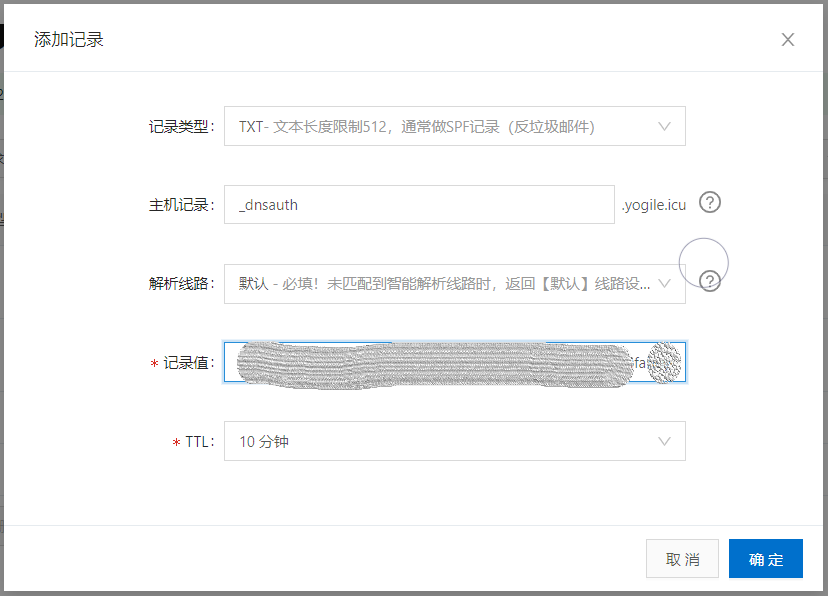
将证书信息填写到域名解析:“添加记录”
-
回到腾讯云证书详情页,点击 “自动诊断” 然后 “验证”
-
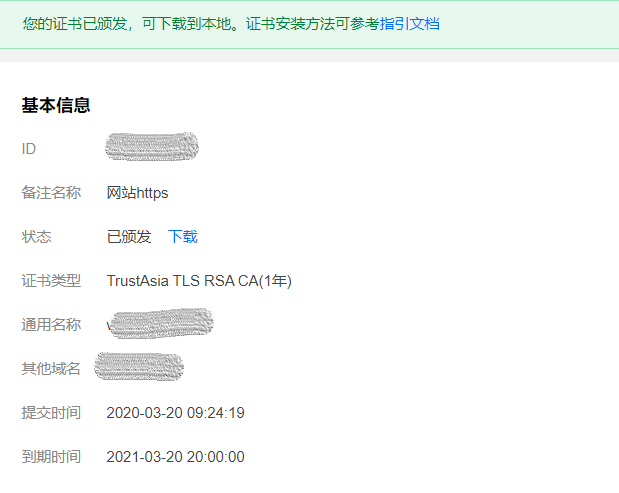
然后回邮件通知审核通过
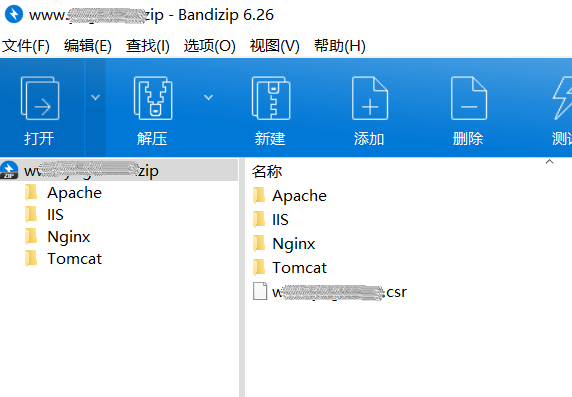
下载免费 SSL 证书
配置 Apache
编辑 SSL 配置文件 default-ssl.conf
-
编辑 SSL 配置文件 default-ssl.conf
sudo vim /etc/apache2/sites-enabled/default-ssl.conf
如果忽略注释会显示:
<IfModule mod_ssl.c>
        <VirtualHost _default_:443>
                ServerAdmin webmaster@localhost

                DocumentRoot /var/www/html

                SSLEngine on

                SSLCertificateFile      /etc/ssl/certs/ssl-cert-snakeoil.pem
                SSLCertificateKeyFile /etc/ssl/private/ssl-cert-snakeoil.key

                <FilesMatch "\.(cgi|shtml|phtml|php)$">
                                SSLOptions +StdEnvVars
                </FilesMatch>
                <Directory /usr/lib/cgi-bin>
                                SSLOptions +StdEnvVars
                </Directory>
                </VirtualHost>
</IfModule>
-
添加 ServerName <域名> ,例:
ServerAdmin webmaster@localhost
ServerName www.example.com  # 你的域名
DocumentRoot /var/www/html
修改加载 SSL 证书位置到你解压的证书文件夹 ,例:
SSLCertificateFile /etc/apache2/ownSSL/Apache/2_www.xxxxx.xxx.crt SSLCertificateKeyFile /etc/apache2/ownSSL/Apache/3_www.xxxxx.xxx.key
并添加
SSLCertificateChainFile /etc/apache2/ownSSL/Apache/1_root_bundle.crt
-
:wq 保存退出
加载 SSL 配置文件 default-ssl.conf
-
以 root 权限启用SSL模块:
sudo a2enmod ssl
如果执行成功显示:
Considering dependency setenvif for ssl:
Module setenvif already enabled
Considering dependency mime for ssl:
Module mime already enabled
Considering dependency socache_shmcb for ssl:
Enabling module socache_shmcb.
Enabling module ssl.
See /usr/share/doc/apache2/README.Debian.gz on how to configure SSL and create self-signed certificates.
To activate the new configuration, you need to run:
  systemctl restart apache2
-
它最后提醒你执行一条重启命令:
sudo /etc/init.d/apache2 restart
这里要以 root 权限执行这条命令,否则报错。
注意:这里重启了 Apache2。
-
以 root 权限执行命令:
Copysudo a2ensite default-ssl
正确返回结果:
Copyyogile@debyogile:/etc/apache2# sudo a2ensite default-ssl
a2ensite default-sslEnabling site default-ssl.
To activate the new configuration, you need to run:
  systemctl reload apache2
它提醒执行 systemctl reload apache2 ,先不管它,进行下一步 启动 Apache2 服务 。
-
这时 启动 Apache2 服务 :
sudo /etc/init.d/apache2 start
启动成功显示:
[ ok ] Starting apache2 (via systemctl): apache2.service.
-
启动 Apache2 服务成功后,加载 SSL 配置文件 default-ssl.conf
sudo systemctl reload apache2
成功无显示。
重启 Apache2 服务
网页登录测试
在浏览器中输入 https://<域名> 即可验证
HTTP 强制重定向 HTTPS
-
启动重定向
sudo a2enmod rewrite
重启 Apache 服务
sudo systemctl restart apache2
-
在 /etc/apache2/sites-enabled/000-default.conf 文件的 <VirtualHost *:80></VirtualHost> 中写入以下内容
RewriteEngine on
RewriteCond   %{HTTPS} !=on
RewriteRule   ^(.*)  https://%{SERVER_NAME}$1 [L,R=301]
重启 Apache 服务
sudo systemctl restart apache2
来源:https://www.cnblogs.com/Yogile/p/12483991.html |



 發表於 2020-3-20 12:54:00