一、前言
前文 树莓派/Debian Apache2 实现 HTTPS(SSL) 服务 提到,Apache2 实现 HTTPS(SSL) 服务有两种方法以及之间的区别,这里讲述如何通过 **OpenSSL 自建 CA ** 来 自签名证书 和 颁发 SSL 证书 实现 HTTPS(SSL) 服务。
1. 下载 Apache2
sudo apt-get install apache2
2. 停止 Apache2 服务
这一步必做 。
二、自建 CA
1. 创建工作环境
cd /etc/apache2/ && sudo mkdir -p ownSSL/CA && sudo mkdir ownSSL/Server && cd /etc/apache2/
1. 生成 CA 私匙
sudo openssl genrsa -out CA/CA_private.key 2048
成功显示:
Generating RSA private key, 2048 bit long modulus (2 primes)
................+++++
...................................................+++++
e is 65537 (0x010001)
2. 生成 CA 证书请求
sudo openssl req -new -key CA/CA_private.key -out CA/CA_request.csr
过程中,提示需要你输入该根证书相关信息,自行更改:
You are about to be asked to enter information that will be incorporated
into your certificate request.
What you are about to enter is what is called a Distinguished Name or a DN. There are quite a few fields but you can leave some blank
For some fields there will be a default value,
If you enter '.', the field will be left blank.
-----
Country Name (2 letter code) [AU]:CN
State or Province Name (full name) [Some-State]:BeiJing
Locality Name (eg, city) []:BJ
Organization Name (eg, company) [Internet Widgits Pty Ltd]:Yogile
Organizational Unit Name (eg, section) []:Yogile
Common Name (e.g. server FQDN or YOUR name) []:Yogile
Email Address []:example@mail.com
Please enter the following 'extra' attributes
to be sent with your certificate request
A challenge password [] pensslca
An optional company name []:Yogile pensslca
An optional company name []:Yogile
3. 生成 CA 根证书
sudo openssl x509 -req -in CA/CA_request.csr -extensions v3_ca -signkey CA/CA_private.key -out CA/CA_root.crt
成功显示:
Signature ok
subject=C = CN, ST = BeiJing, L = BJ, O = Yogile, OU = Yogile, CN = Yogile, emailAddress = example@mail.com
Getting Private key
三、自建 Server 端证书
1. 生成 Server 私匙
sudo openssl genrsa -out Server/Server_private.key 2048
成功显示:
Generating RSA private key, 2048 bit long modulus (2 primes)
............+++++
.......................+++++
e is 65537 (0x010001)
2. 生成 Server 证书请求
sudo openssl req -new -key Server/Server_private.key -out Server/Server_request.csr
过程中,提示需要你输入该根证书相关信息,自行更改:
You are about to be asked to enter information that will be incorporated
into your certificate request.
What you are about to enter is what is called a Distinguished Name or a DN.       There are quite a few fields but you can leave some blank
For some fields there will be a default value,
If you enter '.', the field will be left blank.
-----
Country Name (2 letter code) [AU]:CN
State or Province Name (full name) [Some-State]:BeiJing
Locality Name (eg, city) []:BJ
Organization Name (eg, company) [Internet Widgits Pty Ltd]:Yogile
Organizational Unit Name (eg, section) []:Yogile
Common Name (e.g. server FQDN or YOUR name) []:Yogile
Email Address []:example@mail.com

Please enter the following 'extra' attributes
to be sent with your certificate request
A challenge password []:example@mail.com
An optional company name []:Yogile
3. 生成 Server 证书
-
创建配置文件 openssl.cnf
sudo vim openssl.cnf
参考如下:
[req]
distinguished_name = req_distinguished_name
req_extensions = v3_req

[req_distinguished_name]
countryName = CN
countryName_default = CN
stateOrProvinceName = BJ
stateOrProvinceName_default = BeiJing
localityName = BJ
localityName_default = BeiJing
organizationalUnitName  = Yogile
organizationalUnitName_default  = Domain Control Validated
commonName = Internet Widgits Ltd
commonName_max  = 64

[ v3_req ]
# Extensions to add to a certificate request
basicConstraints = CA:FALSE
keyUsage = nonRepudiation, digitalSignature, keyEncipherment
subjectAltName = @alt_names

[alt_names]
# 注意这个IP.1的设置,IP地址需要和你的服务器的监听地址一样 DNS为server网址
IP.1 = 192.168.0.129
DNS.1 = www.example.com
需要将 Server 监听的地址写入证书中,如果访问时地址与证书中地址不一致将不能通过证书认证。
- 在这里我用是虚拟机,没有公网 IP ,也没有设置域名解析,IP.1 和 DNS.1 都设为了虚拟机 IP 地址,可行。
-
执行命令生成 Server 证书
sudo openssl x509 -days 365 -req -in Server/Server_request.csr -extensions v3_req -CAkey CA/CA_private.key -CA CA/CA_root.crt -CAcreateserial -out Server/Server_root.crt -extfile openssl.cnf
成功显示:
Signature ok
subject=C = CN, ST = BeiJing, L = BJ, O = Yogile, OU = Yogile, CN = Yogile, emailAddress = example@mail.com
Getting CA Private Key
四、检查目录结构,确定无误
使用 tree 命令检查环境良好,配置无误:
yogile@debyogile:/etc/apache2/ownSSL$ tree
.
├── CA
│   ├── CA_private.key
│   ├── CA_request.csr
│   ├── CA_root.crt
│   └── CA_root.srl
├── openssl.cnf
└── Server
    ├── Server_private.key
    ├── Server_request.csr
    └── Server_root.crt

2 directories, 8 files
五、Apache2 SSL 证书加载
- 特别注意:必须一步步按照后续步骤来,否则特别容易出错!
1. 停止 Apache2 服务
这一步必做 。
2. 启用SSL模块
-
以 root 权限启用SSL模块:
sudo a2enmod ssl
如果执行成功显示:
Considering dependency setenvif for ssl:
Module setenvif already enabled
Considering dependency mime for ssl:
Module mime already enabled
Considering dependency socache_shmcb for ssl:
Enabling module socache_shmcb.
Enabling module ssl.
See /usr/share/doc/apache2/README.Debian.gz on how to configure SSL and create self-signed certificates.
To activate the new configuration, you need to run:
  systemctl restart apache2
-
它最后提醒你执行一条重启命令:
sudo /etc/init.d/apache2 restart
这里要以 root 权限执行这条命令,否则报错。
注意:这里重启了 Apache2。
3. 停止 Apache2 服务
这一步必做,和前两步的 “停止 Apache2 服务” 起到同样的效果 。
4. 加载 SSL 配置文件 default-ssl.conf
-
以 root 权限执行命令:
sudo a2ensite default-ssl
正确返回结果:
yogile@debyogile:/etc/apache2# sudo a2ensite default-ssl
a2ensite default-sslEnabling site default-ssl.
To activate the new configuration, you need to run:
  systemctl reload apache2
它提醒执行 systemctl reload apache2 ,先不管它,进行下一步 启动 Apache2 服务 。
-
这时 启动 Apache2 服务 :
sudo /etc/init.d/apache2 start
启动成功显示:
[ ok ] Starting apache2 (via systemctl): apache2.service.
-
启动 Apache2 服务成功后,加载 SSL 配置文件 default-ssl.conf
sudo systemctl reload apache2
成功无显示。
四、Apache2 SSL 证书配置
加载完成了,修改其配置。
1. 添加监听端口
-
编辑监听端口配置文件
sudo vim /etc/apache2/ports.conf
一般显示:
# If you just change the port or add more ports here, you will likely also
# have to change the VirtualHost statement in
# /etc/apache2/sites-enabled/000-default.conf

Listen 80

<IfModule ssl_module>
        Listen 443
</IfModule>

<IfModule mod_gnutls.c>
        Listen 443
</IfModule>

# vim: syntax=apache ts=4 sw=4 sts=4 sr noet
-
添加监听端口 443
将示例中第 5 行 Listen 80 修改成 Listen 80 443 :
# If you just change the port or add more ports here, you will likely also
# have to change the VirtualHost statement in
#/etc/apache2/sites-enabled/000-default.conf

Listen 80 443

<IfModule ssl_module>
        Listen 443
</IfModule>

<IfModule mod_gnutls.c>
        Listen 443
</IfModule>

# vim: syntax=apache ts=4 sw=4 sts=4 sr noet
-
:wq 保存退出
2. 修改 SSL 配置文件 default-ssl.conf
-
编辑 SSL 配置文件 default-ssl.conf
sudo vim /etc/apache2/sites-enabled/default-ssl.conf
如果忽略注释会显示:
<IfModule mod_ssl.c>
        <VirtualHost _default_:443>
                ServerAdmin webmaster@localhost

                DocumentRoot /var/www/html

                SSLEngine on

                SSLCertificateFile      /etc/ssl/certs/ssl-cert-snakeoil.pem
                SSLCertificateKeyFile /etc/ssl/private/ssl-cert-snakeoil.key

                <FilesMatch "\.(cgi|shtml|phtml|php)$">
                                SSLOptions +StdEnvVars
                </FilesMatch>
                <Directory /usr/lib/cgi-bin>
                                SSLOptions +StdEnvVars
                </Directory>
                </VirtualHost>
</IfModule>
-
添加 ServerName <主机名> ,例:
ServerAdmin webmaster@localhost
ServerName yogile.icu
DocumentRoot /var/www/html
这里的主机名填写为: 按 OpenSSL 文档操作时文件 exampleserver.cnf 中的 DNS.0 :
[ alt_names ]
DNS.0                   = yogile.icu
DNS.1                   = www.yogile.icu
-
修改加载 SSL 证书位置,例:
SSLCertificateFile /etc/apache2/ownSSL/Server/Server_root.crt
SSLCertificateKeyFile /etc/apache2/ownSSL/Server/Server_private.key
-
:wq 保存退出
3. 重启 Apache2 服务
五、网页登录测试
1. 在浏览器中输入 https:// +域名、公网 IP 或私网 IP
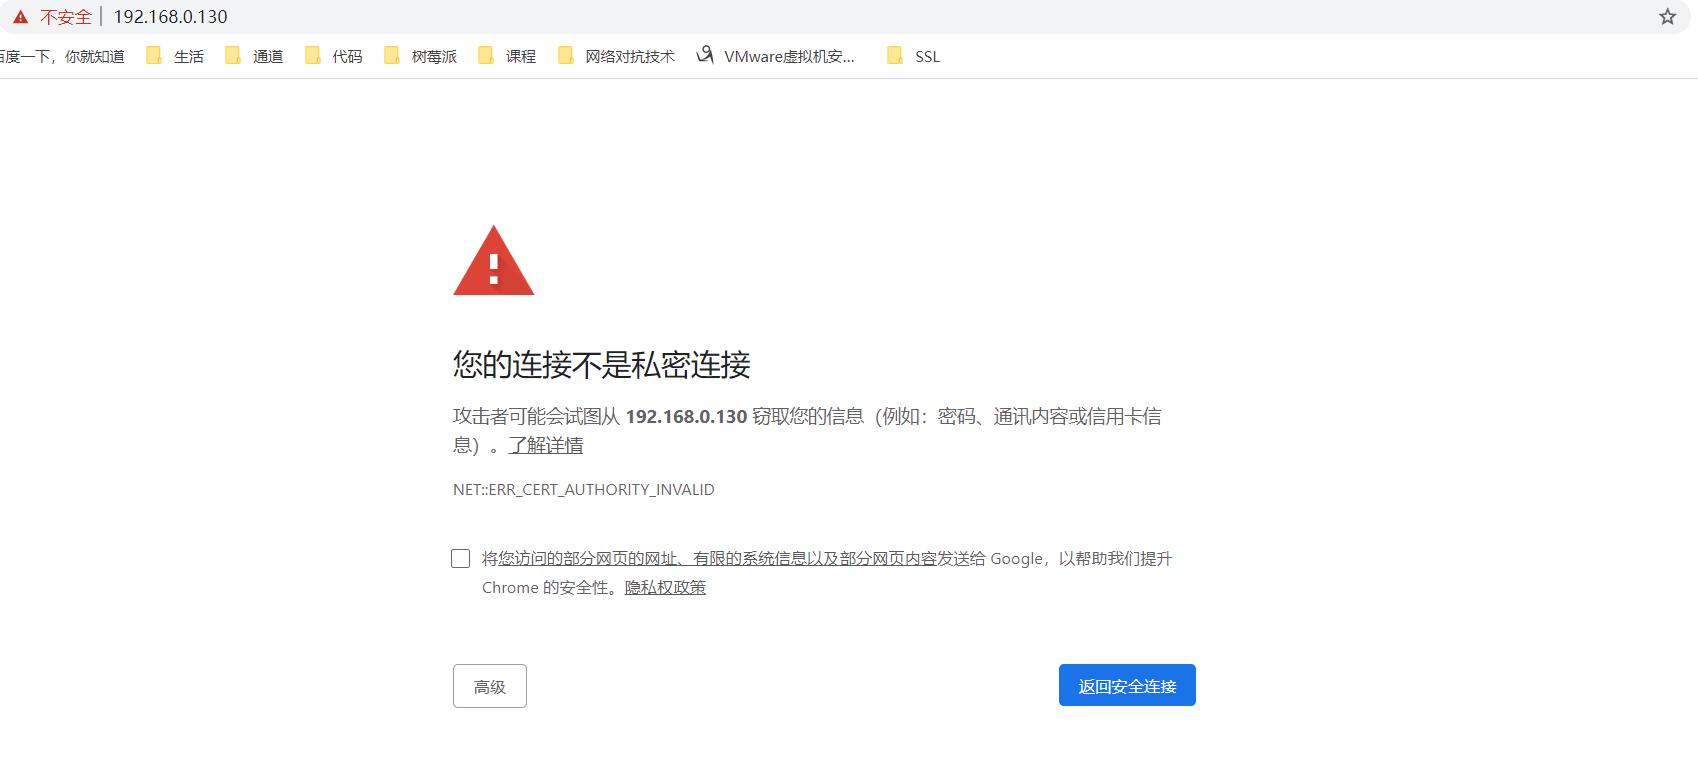
2. 点击 “高级” -> 继续前往(不安全)
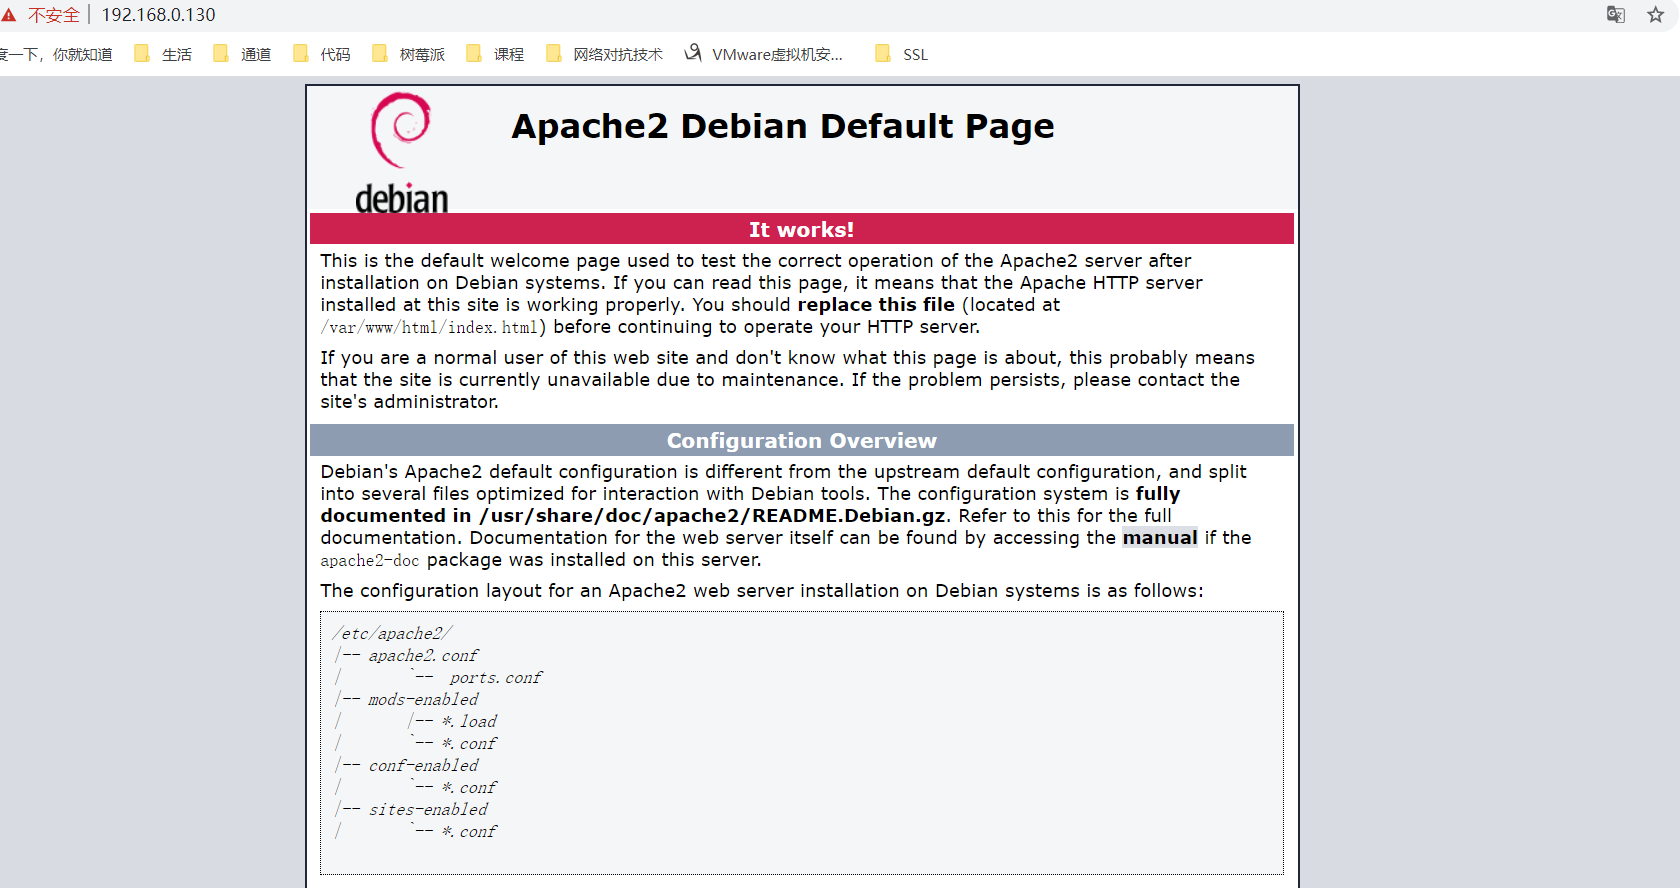
3. HTTPS(SSL) 配置成功
六、端口重定向
现在虽然实现了,HTTPS 协议服务,但是 80 端口依然可以访问 HTTP 协议服务。
可参考下一篇博客 树莓派/Debian HTTP 到 HTTPS 端口重定向 实现了 80 端口到 443 端口的重定向
来源:https://www.cnblogs.com/Yogile/p/12487790.html |



 發表於 2020-3-14 09:20:00