一、Zabbix服务端部署
官网查看支持安装的版本
1.安装Zabbix存储库(按照官方步骤即可)
root@Zabbix-Server:~# wget https://repo.zabbix.com/zabbix/6.0/ubuntu/pool/main/z/zabbix-release/zabbix-release_6.0-1+ubuntu20.04_all.deb
root@Zabbix-Server:~# dpkg -i zabbix-release_6.0-1+ubuntu20.04_all.deb
root@Zabbix-Server:~# apt update
2.安装Zabbix依赖组件
root@Zabbix-Server:~# apt install zabbix-server-mysql zabbix-frontend-php zabbix-apache-conf zabbix-sql-scripts zabbix-agent -y
二、数据库安装部署
1.安装MySQL
root@Zabbix-Server:~# apt install mysql-server -y
2.数据库初始化
root@Zabbix-Server:~# mysql_secure_installation
3.登录数据库并创建用户
root@Zabbix-Server:~# mysql -uroot -p
Enter password:
Welcome to the MySQL monitor.  Commands end with ; or \g.
Your MySQL connection id is 11
Server version: 8.0.28-0ubuntu0.20.04.3 (Ubuntu)

Copyright (c) 2000, 2022, Oracle and/or its affiliates.

Oracle is a registered trademark of Oracle Corporation and/or its
affiliates. Other names may be trademarks of their respective
owners.

Type 'help;' or '\h' for help. Type '\c' to clear the current input statement.

mysql> create database zabbix character set utf8mb4 collate utf8mb4_bin;
Query OK, 1 row affected (0.01 sec)

mysql> create user zabbix@'%' identified by 'zabbix@123';
Query OK, 0 rows affected (0.01 sec)

mysql> grant all privileges on zabbix.* to zabbix@'%';
Query OK, 0 rows affected (0.01 sec)

mysql> quit
Bye
4.创建用户测试链接
root@Zabbix-Server:~# mysql -uzabbix -p
Enter password:
Welcome to the MySQL monitor.  Commands end with ; or \g.
Your MySQL connection id is 13
Server version: 8.0.28-0ubuntu0.20.04.3 (Ubuntu)

Copyright (c) 2000, 2022, Oracle and/or its affiliates.

Oracle is a registered trademark of Oracle Corporation and/or its
affiliates. Other names may be trademarks of their respective
owners.

Type 'help;' or '\h' for help. Type '\c' to clear the current input statement.

mysql>
5.启动数据库
root@Zabbix-Server:~# systemctl start mysql.service
root@Zabbix-Server:~# systemctl enable mysql
Synchronizing state of mysql.service with SysV service script with /lib/systemd/systemd-sysv-install.
Executing: /lib/systemd/systemd-sysv-install enable mysql
root@Zabbix-Server:~# systemctl status mysql
● mysql.service - MySQL Community Server
     Loaded: loaded (/lib/systemd/system/mysql.service; enabled; vendor preset: enabled)
     Active: active (running) since Thu 2022-03-31 02:50:44 UTC; 14min ago
   Main PID: 14658 (mysqld)
     Status: "Server is operational"
      Tasks: 39 (limit: 4575)
     Memory: 361.2M
     CGroup: /system.slice/mysql.service
             └─14658 /usr/sbin/mysqld

Mar 31 02:50:43 Zabbix-Server systemd[1]: Starting MySQL Community Server...
Mar 31 02:50:44 Zabbix-Server systemd[1]: Started MySQL Community Server.
三、Zabbix配置
1.更改Zabbix时区
root@Zabbix-Server:~# vim /etc/zabbix/apache.conf
php_value date.timezone Asia/Shanghai
2.Zabbix数据库导入表
root@Zabbix-Server:~# zcat /usr/share/doc/zabbix-sql-scripts/mysql/server.sql.gz | mysql -uzabbix -p zabbix
3.修改zabbix-server配置文件
root@Zabbix-Server:~# vim /etc/zabbix/zabbix_server.conf
DBPassword=zabbix@123
4.启动Zabbix
root@Zabbix-Server:~# systemctl start zabbix-server zabbix-agent apache2
root@Zabbix-Server:~# systemctl enable zabbix-server zabbix-agent apache2
Synchronizing state of zabbix-server.service with SysV service script with /lib/systemd/systemd-sysv-install.
Executing: /lib/systemd/systemd-sysv-install enable zabbix-server
Synchronizing state of zabbix-agent.service with SysV service script with /lib/systemd/systemd-sysv-install.
Executing: /lib/systemd/systemd-sysv-install enable zabbix-agent
Synchronizing state of apache2.service with SysV service script with /lib/systemd/systemd-sysv-install.
Executing: /lib/systemd/systemd-sysv-install enable apache2
Created symlink /etc/systemd/system/multi-user.target.wants/zabbix-server.service → /lib/systemd/system/zabbix-server.service.
Created symlink /etc/systemd/system/multi-user.target.wants/zabbix-agent.service → /lib/systemd/system/zabbix-agent.service.
root@Zabbix-Server:~# netstat -lnp |grep zabbix
tcp        0      0 0.0.0.0:10050           0.0.0.0:*               LISTEN      7952/zabbix_agentd
tcp        0      0 0.0.0.0:10051           0.0.0.0:*               LISTEN      16950/zabbix_server
tcp6       0      0 :::10050                :::*                    LISTEN      7952/zabbix_agentd
tcp6       0      0 :::10051                :::*                    LISTEN      16950/zabbix_server
unix  2      [ ACC ]     STREAM     LISTENING     65053    16950/zabbix_server  /run/zabbix/zabbix_server_rtc.sock
unix  2      [ ACC ]     STREAM     LISTENING     65064    16951/zabbix_server  /run/zabbix/zabbix_server_haservice.sock
unix  2      [ ACC ]     STREAM     LISTENING     75471    16956/zabbix_server  /run/zabbix/zabbix_server_alerter.sock
unix  2      [ ACC ]     STREAM     LISTENING     68123    16952/zabbix_server  /run/zabbix/zabbix_server_service.sock
unix  2      [ ACC ]     STREAM     LISTENING     65086    16964/zabbix_server  /run/zabbix/zabbix_server_lld.sock
unix  2      [ ACC ]     STREAM     LISTENING     75480    16960/zabbix_server  /run/zabbix/zabbix_server_preprocessing.sock
unix  2      [ ACC ]     STREAM     LISTENING     74733    17018/zabbix_server  /run/zabbix/zabbix_server_availability.sock
四、浏览器访问配置Zabbix
浏览器访问地址:http://IP/zabbix
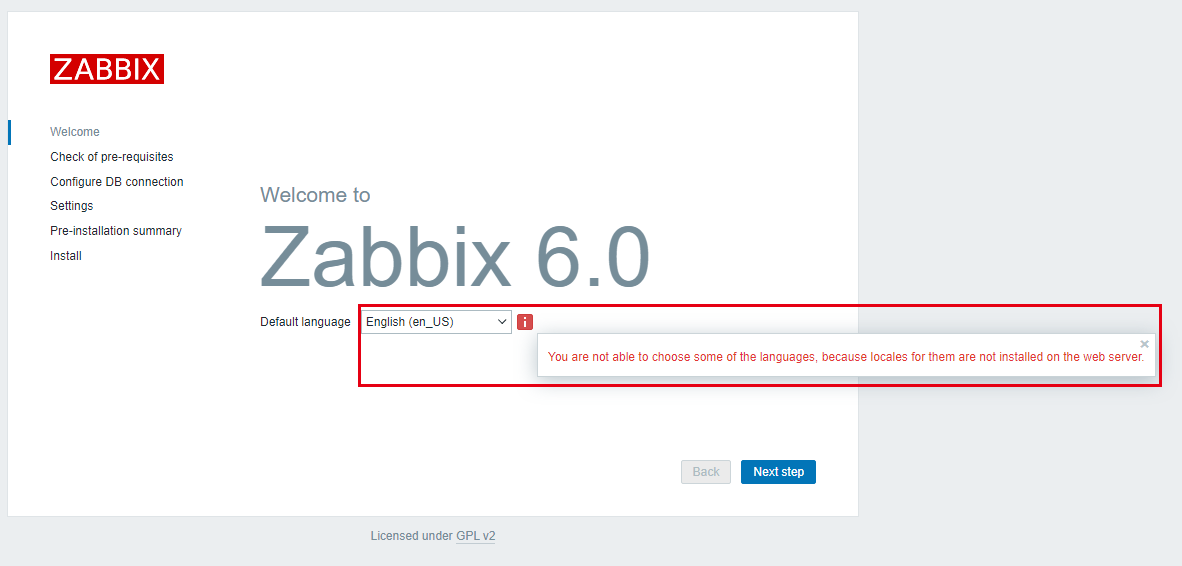
1.安装语言无法选择,需要先在web服务器上安装语言包
root@Zabbix-Server:~# apt-get -y install language-pack-zh-hant language-pack-zh-hans
root@Zabbix-Server:~# vim /etc/environment
LANG=“zh_CN.UTF-8” LANGUAGE=“zh_CN:zh:en_US:en”
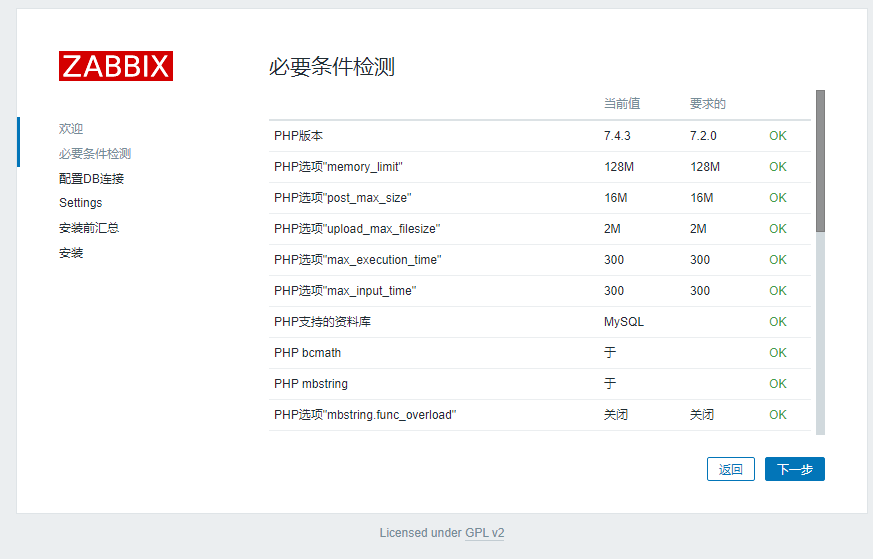
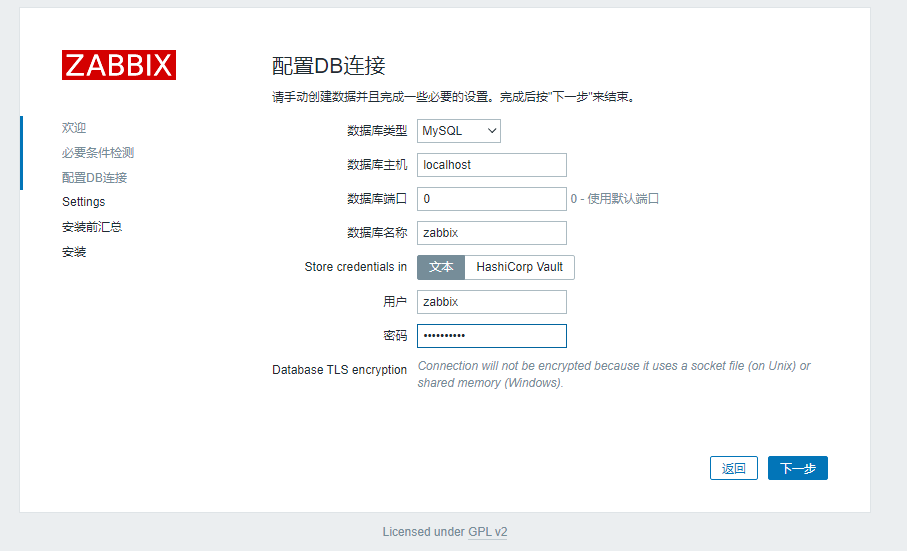
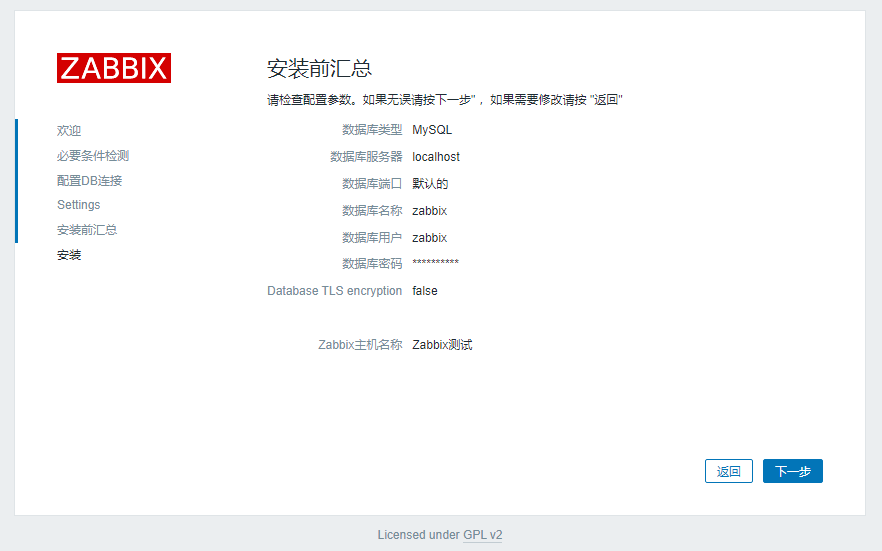
2.配置数据库链接
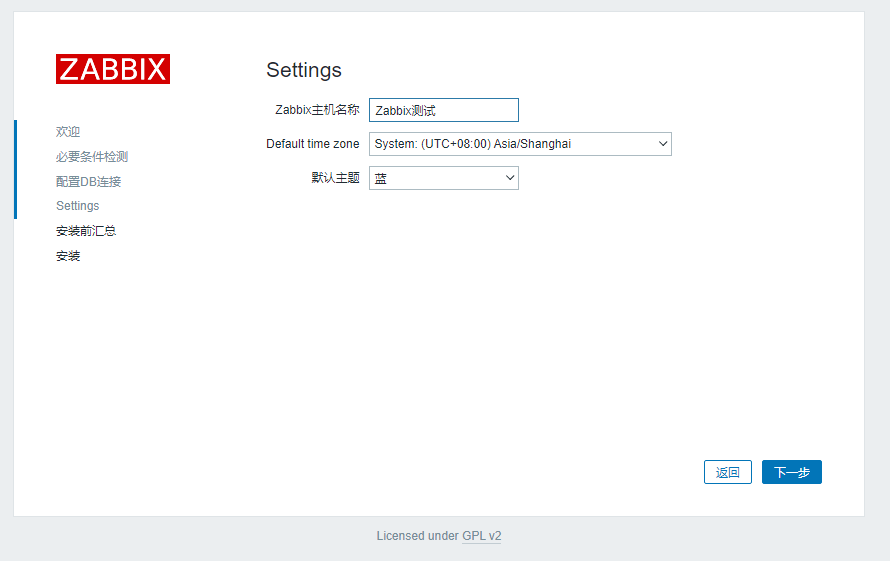
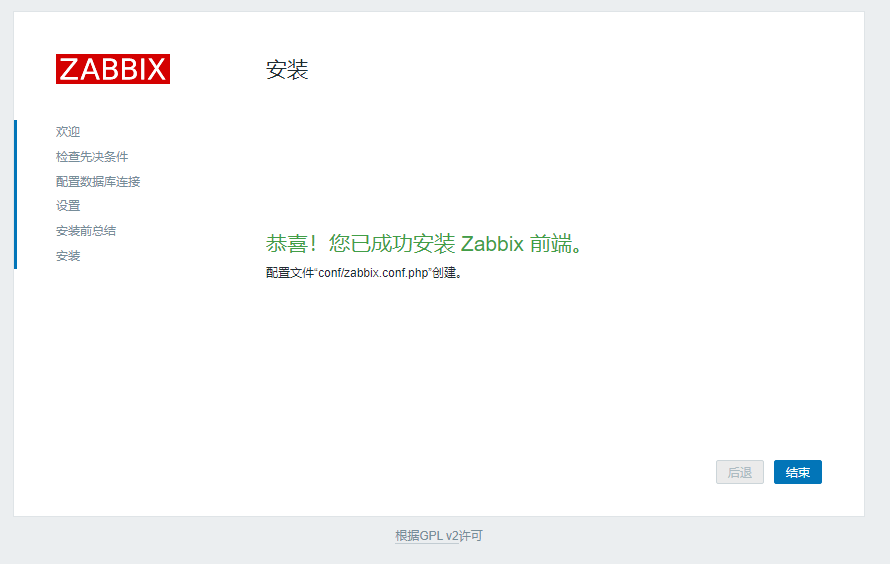
3.安装
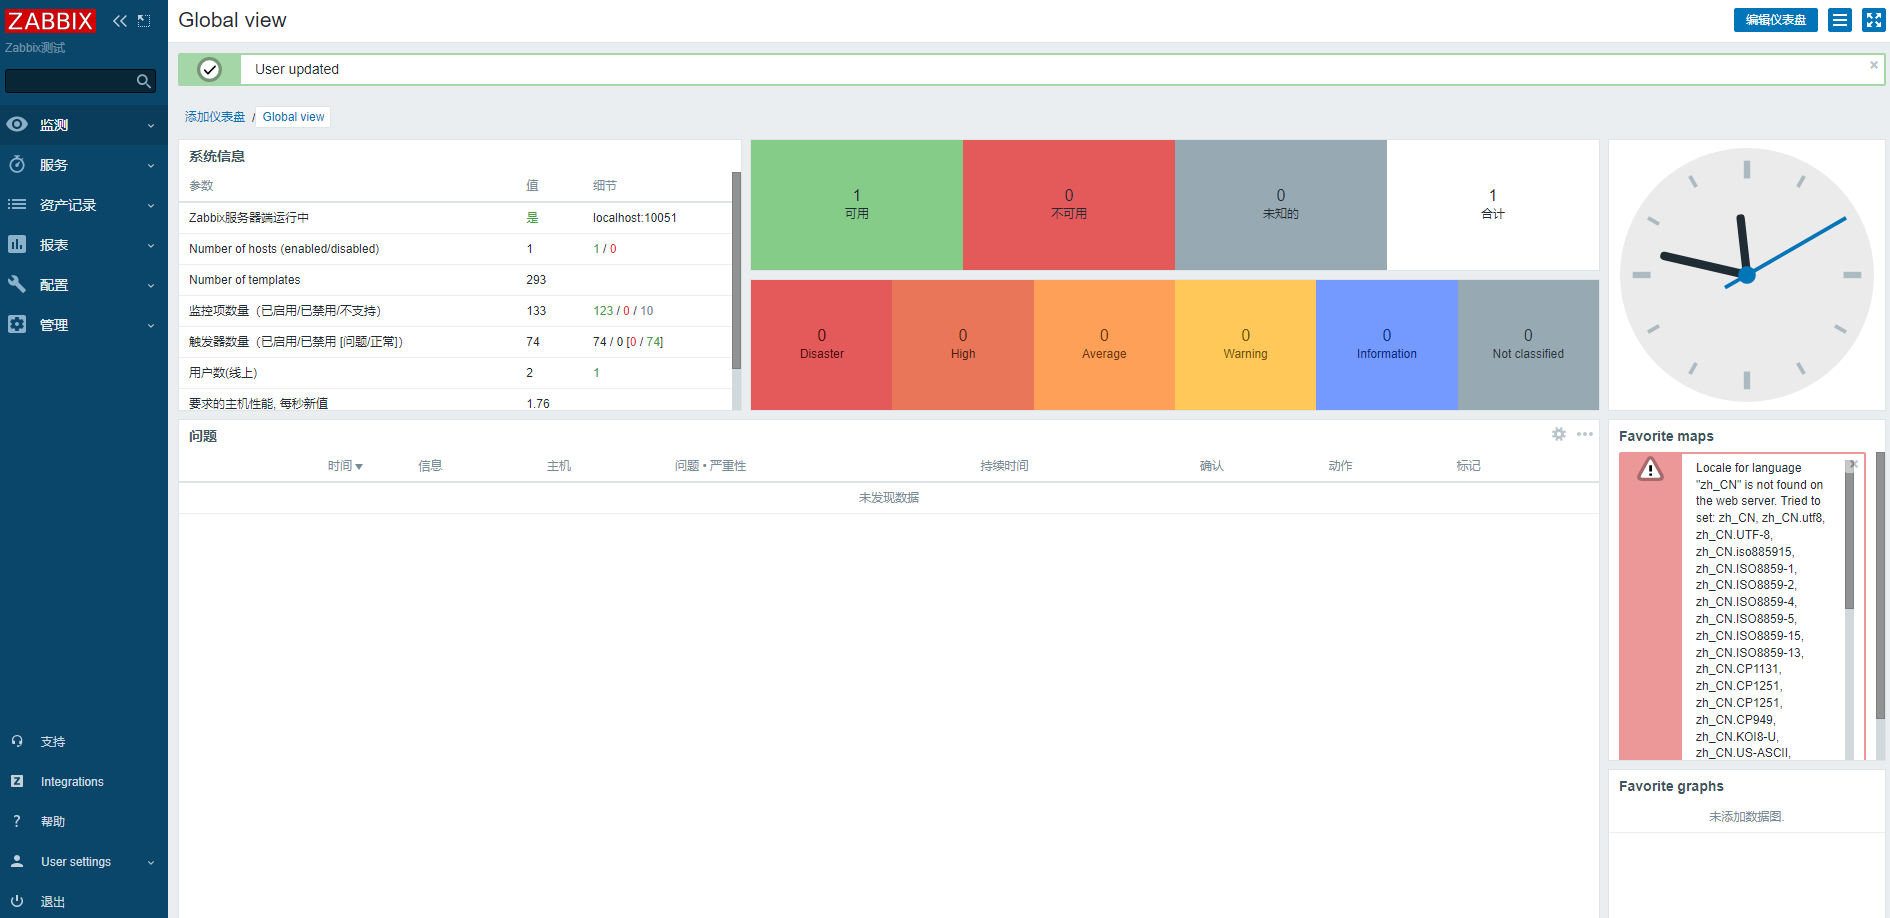
4.登录访问,默认账号密码:Admin zabbix
五、解决浏览器中文乱码问题
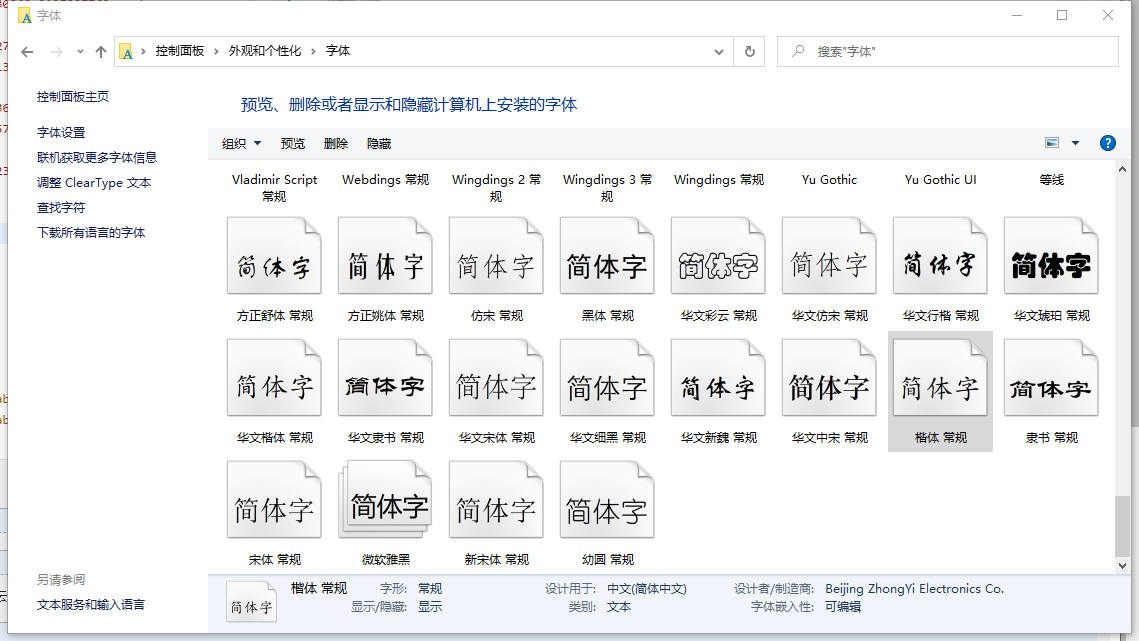
1.去windows下控制面板-字体-复制(楷体-常规)
2.确认字体文件路径并进行替换
root@Zabbix-Server:~# find / -name defines.inc.php
/usr/share/zabbix/include/defines.inc.php
root@Zabbix-Server:~# cat /usr/share/zabbix/include/defines.inc.php |grep graphfont
define('ZBX_GRAPH_FONT_NAME',		'graphfont'); // font file name
define('ZBX_FONT_NAME', 'graphfont');
root@Zabbix-Server:~# cd /usr/share/zabbix/assets/fonts/
root@Zabbix-Server:/usr/share/zabbix/assets/fonts# ll
total 8
drwxr-xr-x 2 root root 4096 Mar 31 02:42 ./
drwxr-xr-x 5 root root 4096 Mar 31 02:41 ../
lrwxrwxrwx 1 root root   38 Mar 31 02:42 graphfont.ttf -> /etc/alternatives/zabbix-frontend-font
root@Zabbix-Server:/usr/share/zabbix/assets/fonts# rm -rf /etc/alternatives/zabbix-frontend-font
root@Zabbix-Server:/usr/share/zabbix/assets/fonts# cd /etc/alternatives/
root@Zabbix-Server:/etc/alternatives# ln -s /usr/share/zabbix/assets/fonts/SIMKAI.TTF /etc/alternatives/zabbix-frontend-font
来源:https://www.cnblogs.com/studywen/p/16080460.html |



 發表於 2022-3-31 13:57:00




 :
: